
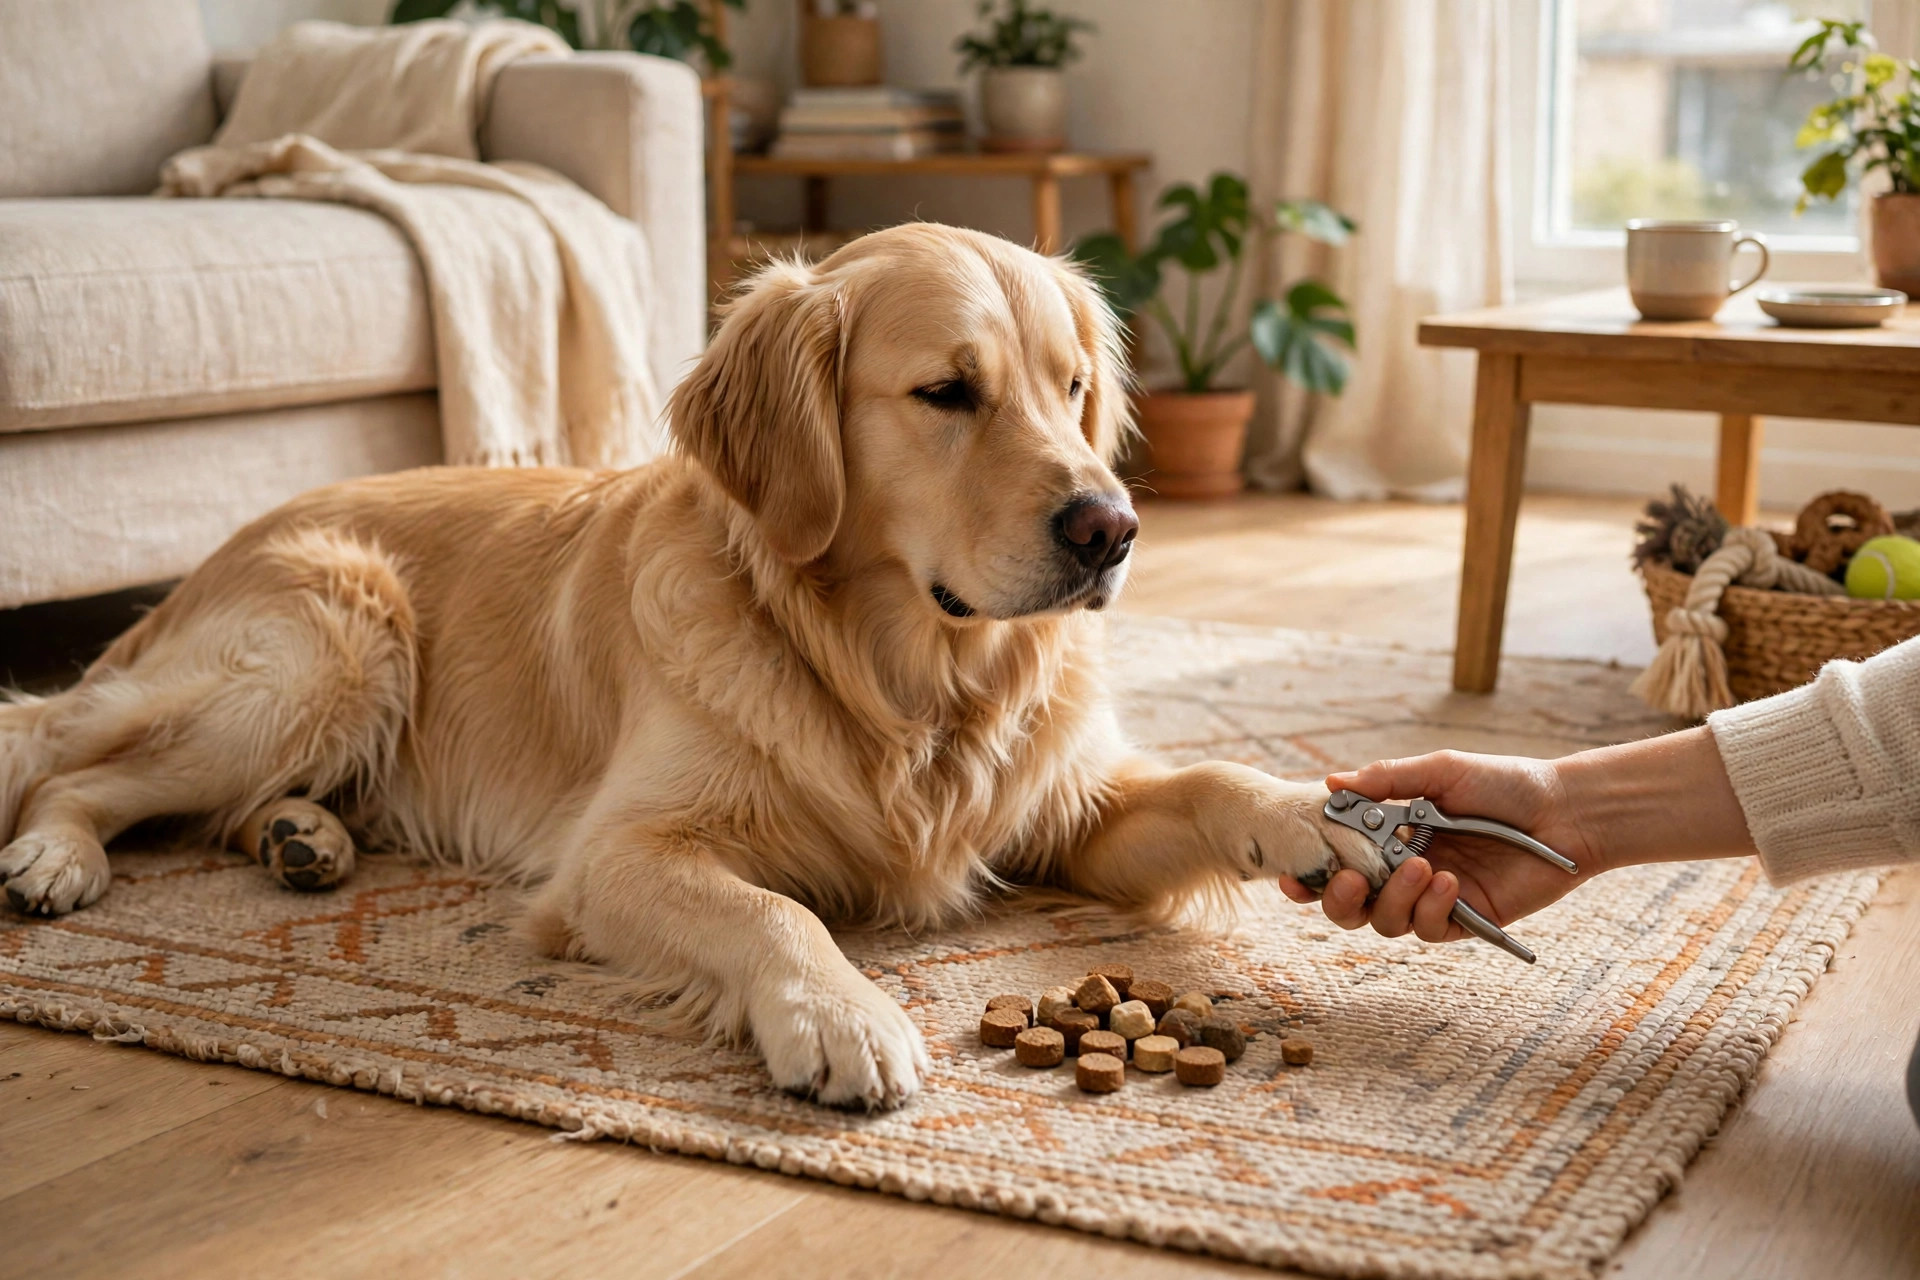
If your dog turns into a wriggling, panicking mess the moment the clippers come out, you are not alone. Learning how to trim dog nails at home is one of the most dreaded jobs in dog ownership — mostly because of one small fear: cutting the quick and causing pain and bleeding.
The good news is that trimming your dog’s nails is a learnable skill, and most dogs can be taught to accept it calmly. With the right tools, a clear view of the quick, and a slow, treat-filled approach, you can keep your dog’s nails at a healthy length without a stressful trip to the groomer every month.
In this complete 2026 guide, we will walk you through everything you need to know: when nails need trimming, how to find the quick on light and dark nails, the exact step-by-step clipping method, how to use a nail grinder, what to do if you cut the quick, and how to calm a dog that hates nail trims.
Table of Contents
- When Do Dog Nails Need Trimming?
- What Is the Quick (and Why Everyone Fears It)?
- Tools You Need to Trim Dog Nails
- How to Trim Dog Nails Step by Step
- How to Trim Dog Nails With a Grinder
- How to Trim Black Dog Nails
- How to Calm a Dog That Hates Nail Trims
- What to Do If You Cut the Quick
- How Often Should You Trim Dog Nails?
- 5 Nail Trimming Mistakes to Avoid
- Frequently Asked Questions
When Do Dog Nails Need Trimming?
Most dogs need a nail trim about once a month, but the real test is simple: listen and look. If you hear a steady click-clack on hard floors when your dog walks, the nails are too long. A nail that touches the ground with every step pushes the toe out of its natural position, which changes how your dog stands and walks — and over time, that can cause sore joints and even contribute to posture problems.
Other signs that a trim is overdue:
- Nails that curl or hook at the tip, or catch on carpets and blankets
- Your dog’s toes splaying outward when standing on a flat floor
- A nail that has grown so long it twists sideways
- Your dog limping or hesitating on hard surfaces
- Scratches on your skin or furniture from overgrown nails
Overgrown nails are not just a cosmetic problem. When the quick inside the nail grows longer along with the nail, trimming becomes harder — you cannot simply cut a very long nail short in one session. Regular small trims encourage the quick to recede gradually, which is why a steady routine beats occasional big cuts.
Also Read: Winter Paw Care for Dogs: Salt, Ice & Cracked Pads (2026) — nail length matters even more in winter, when long nails make it harder for your dog to grip icy ground.
What Is the Quick (and Why Everyone Fears It)?
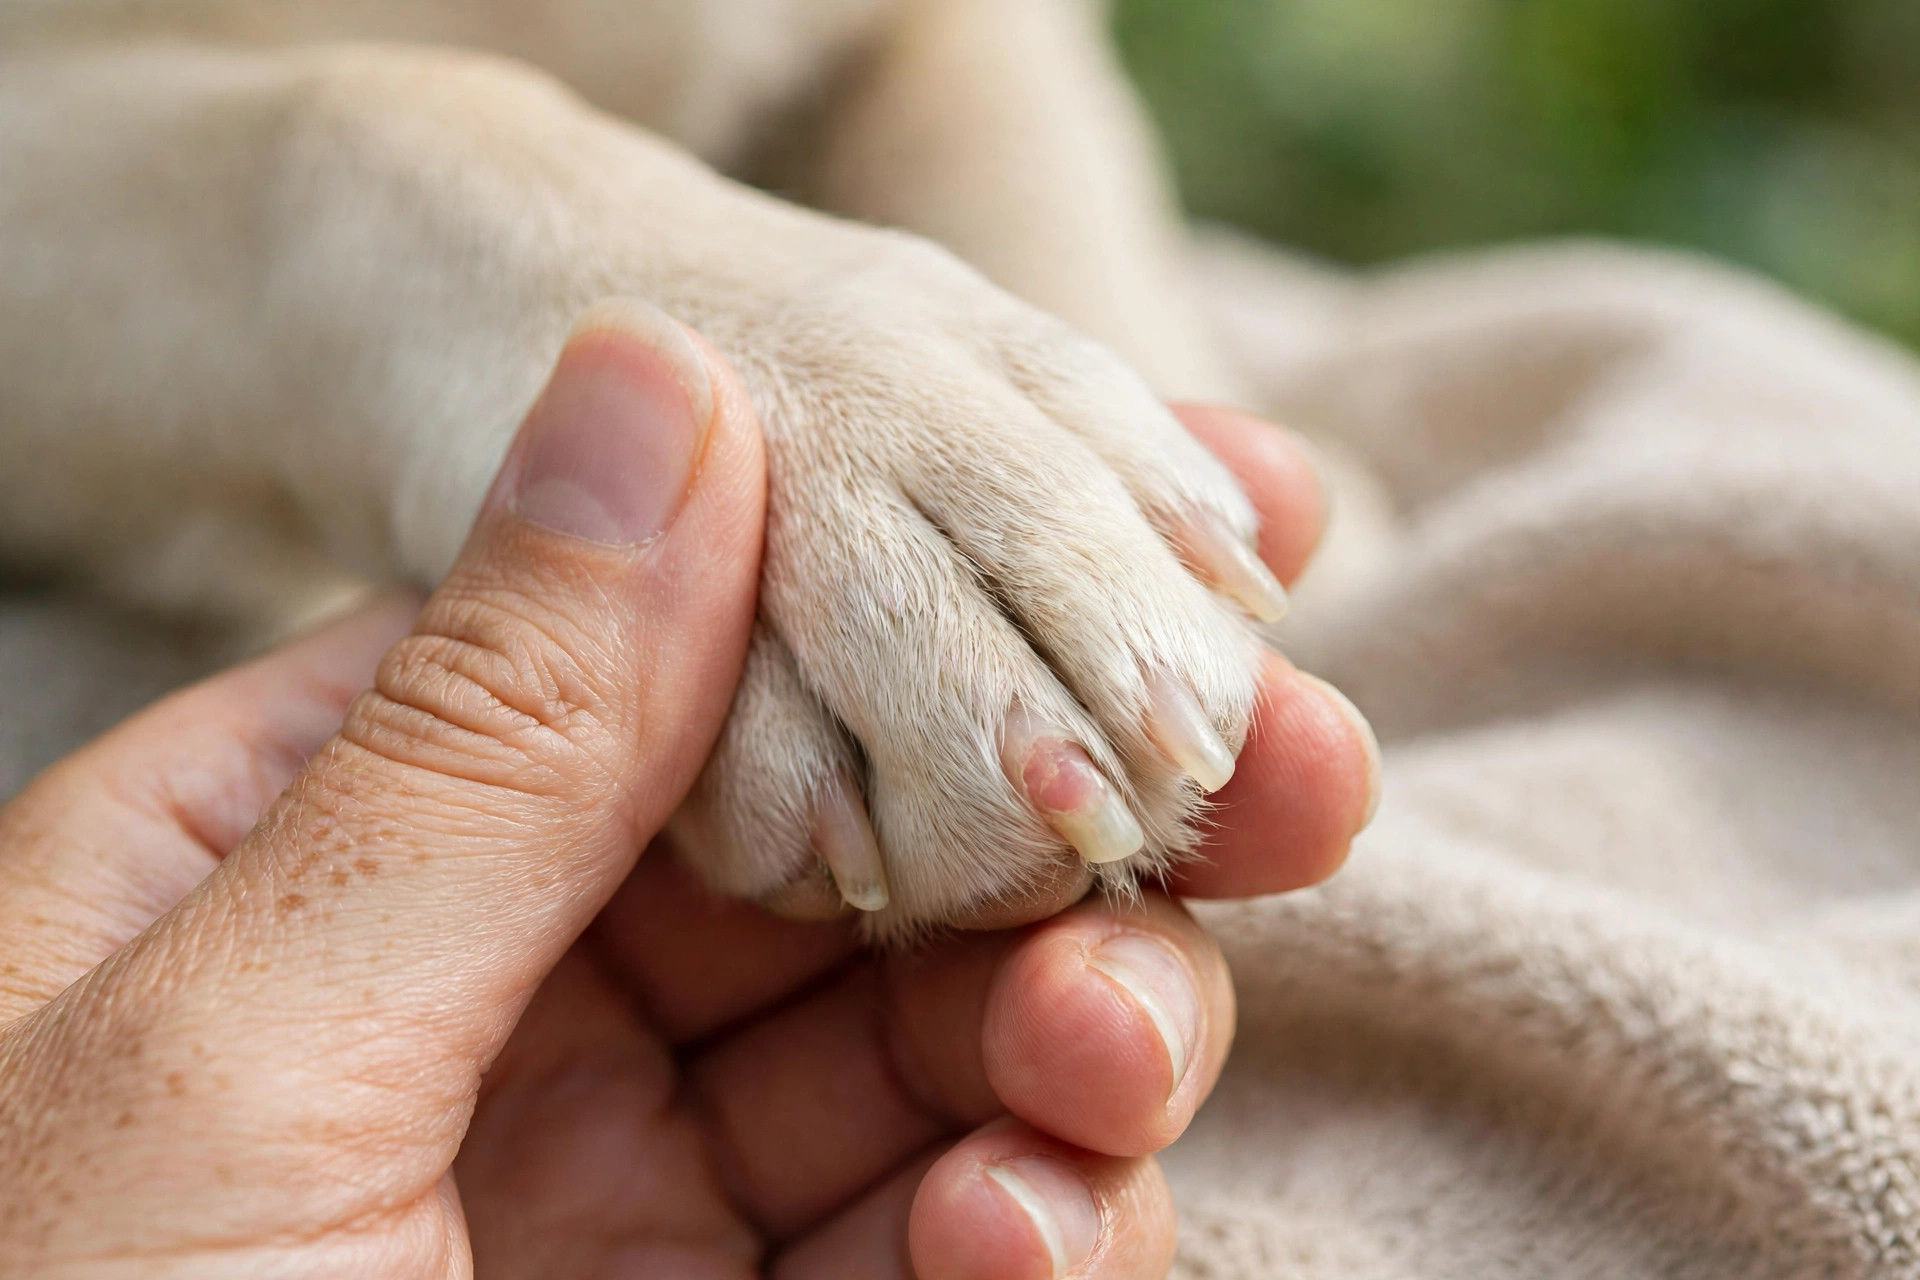
The quick is the living core inside each nail — a bundle of blood vessels and nerves wrapped in hard keratin. The keratin tip beyond the quick has no feeling, which is why trimming it does not hurt. Cut into the quick, and you get pain and bleeding. That is the entire fear, and it is a fair one — but it is also very avoidable once you know what to look for.
On light-colored nails (white, tan, or clear), the quick is visible from the side as a pink area inside the nail. Leave a margin of about 2–3 mm beyond where the pink ends, and you will stay safe. On dark nails, you cannot see the quick from the outside — instead, you trim in thin slices and read the cut surface after each one, as explained in the black-nails section below.
One more thing to know: the quick grows with the nail. If you have let the nails get very long, the quick has likely crept forward too, so you will need several small trims spaced a week or two apart to coax it back.
Tools You Need to Trim Dog Nails
You do not need a professional grooming kit, but you do need tools made for dogs. Human nail clippers and household scissors are not built for thick dog nails — they crush and split the nail instead of cutting it cleanly.
- Dog nail clippers — guillotine-style or scissor-style (also called plier-style). Scissor-style clippers suit most dogs; guillotine clippers work well for small dogs. Keep the blade sharp — a dull blade crushes the nail and hurts.
- A nail grinder (Dremel-style) — files the nail down a little at a time. Excellent for beginners and for dark nails, because you remove such thin layers that it is hard to hit the quick by surprise.
- Styptic powder — a clotting powder pressed onto a bleeding nail. Keep it within arm’s reach before every trim. Cornstarch or plain flour works as a backup.
- High-value treats — small, soft treats your dog loves. These are not optional; they are the tool that makes your dog hold still.
- A non-slip surface — a rug or yoga mat. A dog that slides around is a dog that jerks its paw at the wrong moment.
Veterinary sources including PetMD recommend trimming a little at a time and stopping well before the quick — and keeping styptic powder on hand for the occasional accident.
How to Trim Dog Nails Step by Step
Follow these steps in order, and keep the session short — ten calm minutes beats thirty stressful ones. If your dog gets tense, stop after a nail or two, reward, and finish the rest tomorrow. There is no rule that all eighteen nails must be done in one sitting.
- Set up. Pick a calm moment, not right after a walk or a meal. Lay out your clippers, styptic powder, and treats on a non-slip surface. A helper who holds and rewards your dog makes everything easier.
- Settle your dog. Small dogs can sit in your lap; large dogs do best lying on their side on a mat. Speak calmly and give a treat just for letting you hold the paw.
- Hold the toe. Rest your thumb under the toe on its pad and your forefinger on top, just behind the nail. Press gently to extend the nail, and push any long fur out of the way.
- Find the quick. On light nails, look for the pink area. On dark nails, plan to take thin slices and check the cut face after each one.
- Position the clipper. Put only the tip of the nail in the clipper, at about a 45-degree angle following the natural curve of the nail. Do not cut straight across — that leaves a flat edge that catches on carpet.
- Cut small. Snip off just the hooked tip — a millimetre or two. If the nail is very long, take several small cuts rather than one big one.
- Check the cut face. On light nails you should see solid nail; on dark nails, watch for the chalky ring and then the dark dot that says stop (see below).
- Reward every nail. A treat after each nail — or every two nails — keeps your dog’s opinion of the whole process positive.
- Do not forget the dewclaws. The small nail on the inner side of each paw does not touch the ground, so it never wears down naturally. It can grow into a painful curl if ignored.
- File the edges. A few strokes with a nail file smooths any rough or sharp corners.
How to Trim Dog Nails With a Grinder

A nail grinder is the friendliest option for nervous owners and dark-nailed dogs, because it removes nail in such thin layers that the quick gives you plenty of warning. The trade-off is noise and vibration, so introduce the grinder before you ever touch a nail with it.
- Introduce the sound first. Turn the grinder on across the room for a few seconds, treat, and turn it off. Repeat over two or three short sessions until your dog relaxes at the sound.
- Touch, lift, repeat. Hold the paw firmly but gently, touch the spinning grinder to the tip of the nail for one to two seconds, then lift away. Short bursts keep the nail from heating up, which can be uncomfortable.
- Work around the edge. Grind the tip and slightly around the sides to round the nail, rather than holding the grinder in one spot.
- Watch the end of the nail. As with clipping, stop when you see the signs of the quick — a chalky ring, then a darker dot in the center.
- Reward constantly. Treat after every nail or two, and keep sessions to a few minutes.
Most dogs need a trim every two to four weeks when you use a grinder, since each session removes less than clipping. The upside is a smoother finish and almost no risk of a sudden cut into the quick.
How to Trim Black Dog Nails
Black nails hide the quick, so they are where most accidents happen — but the method is simple once you know the signals. Trim in thin slices of about 1–2 mm, and look at the freshly cut end of the nail after every slice:
- The cut face is all dark nail shell. Keep going, one thin slice at a time.
- A pale, chalky ring appears inside the shell. You are getting close. Slow down.
- A gray-to-pink oval shows at the top of the cut face, or a small dark dot appears in the middle. Stop. The next cut would reach the quick.
When in doubt, stop. You can always trim more next week — you cannot un-cut a quicked nail. If you are trimming black nails for the first time, ask your veterinarian or a vet tech to show you where the quick sits on your own dog at the next visit. Seeing it on those particular nails beats any diagram.
How to Calm a Dog That Hates Nail Trims
If your dog already panics at the sight of clippers, jumping straight to trimming will make things worse. The fix is a slow desensitization plan — pairing paw handling with treats over days, not minutes.
| Week | What to Do | Goal |
|---|---|---|
| Week 1 | Touch and hold your dog’s paws for a few seconds, several times a day, giving a treat each time. No tools. | Paw touching predicts treats |
| Week 2 | Place the clippers or grinder on the floor near your dog, then in your hand while you handle the paws. Treat for calm behavior. | Tools are boring, not scary |
| Week 3 | Touch one nail with the closed clippers (or the grinder switched off), treat, and stop. Repeat with different nails. | Tool contact is safe |
| Week 4 | Trim one nail, then give a jackpot treat and end the session. Add one nail per session after that. | Real trims, no drama |
A few extra rules for nervous dogs: never hold your dog down by force, never punish pulling away (it teaches the dog that trims are something to fight), and always end on a win — even if that win is just one nail and a treat. For puppies, start this handling early: gentle paw touches during the socialization window pay off for years.
Also Read: Puppy Socialization Checklist: The First 16 Weeks (2026) — paw handling is one of the exposures the checklist recommends building into the early weeks.
What to Do If You Cut the Quick
It happens to almost every owner at some point, so do not panic — your dog takes cues from your reaction. Stay calm and matter-of-fact.
- Apply styptic powder directly to the bleeding nail tip and press firmly for 30–60 seconds. The powder helps the blood clot quickly.
- No styptic powder? Press cornstarch or plain flour onto the nail instead, or hold a clean cloth against it with steady pressure.
- Keep your dog still for a few minutes so the clot can form. A lick mat or a chew can help.
- Give a treat and end the session on a calm note. Do not keep trimming — one accident is enough for today.
- Watch the nail over the next day for swelling or discharge, which would suggest infection.
Call your veterinarian if the bleeding has not stopped after several minutes of steady pressure, or if the nail is cracked, broken, or bleeding on its own. A single nicked quick is painful but not dangerous; it is also not a reason to give up on home trimming — just a reminder to take smaller cuts next time.
Also Read: Why Does My Dog Lick His Paws? Vet Explains (2026) — a torn or cracked nail is one of the physical causes of sudden one-paw licking.
How Often Should You Trim Dog Nails?
Most dogs need a trim every 3–4 weeks, but lifestyle matters more than the calendar. Dogs that walk daily on pavement naturally wear their nails down; dogs that mostly walk on grass or stay indoors need trims more often.
| Dog’s Lifestyle | Typical Trim Frequency |
|---|---|
| Daily walks on pavement or concrete | Every 4–6 weeks |
| Mostly grass, garden, or indoor | Every 2–3 weeks |
| Senior or less active dog | Every 2–3 weeks (nails grow but wear less) |
| Puppy | Every 2 weeks (tiny trims, mostly for training) |
The click test is the most reliable guide of all: if you can hear the nails on a hard floor, it is time — whatever the calendar says.
5 Nail Trimming Mistakes to Avoid
- Using human clippers or dull blades. They crush the nail instead of cutting it, which hurts and can split the nail.
- Cutting straight across in one big snip. Big cuts are how quicks get hit. Small slices, checked as you go, are always safer.
- Skipping the dewclaws. They never touch the ground, so they never wear down — and a curled dewclaw can grow into the pad.
- Forcing a frightened dog to hold still. Restraint turns a dislike into a phobia. Use the desensitization plan above instead.
- Waiting months between trims. Long gaps let the quick grow forward, making each trim riskier and less effective.
Frequently Asked Questions
How short should I cut my dog’s nails?
As short as possible without cutting the quick. On light nails, stop 2–3 mm before the pink area; on dark nails, stop when a dark dot appears in the center of the cut surface. The nail should not touch the ground when your dog stands on a flat floor.
How often should I trim my dog’s nails?
Most dogs need a trim every 3–4 weeks. Dogs that walk on pavement may go 4–6 weeks, while indoor or grass-walking dogs often need a trim every 2–3 weeks. If you hear clicking on hard floors, it is time.
Is it better to clip or grind dog nails?
Both work. Clippers are faster; grinders are gentler and safer for beginners and dark nails because they remove nail in very thin layers. Many owners clip first, then smooth the edges with a grinder.
What if my dog will not let me trim their nails at all?
Work through the four-week desensitization plan above: paw handling with treats, then tool introductions, then one nail at a time. If fear is severe, ask your veterinarian or a groomer to trim the nails while you keep training at home — and consider a certified trainer for dogs with entrenched nail phobia.
Does cutting the quick hurt my dog?
Yes — the quick contains nerves and blood vessels, so cutting it causes sharp pain and bleeding. It is not dangerous in itself, and the bleeding usually stops within a few minutes with styptic powder, but it is a strong reason to take small cuts and stop early.
Can puppies have their nails trimmed?
Yes. Start trimming puppy nails every two weeks from the first weeks at home, taking off just the sharp tips. Early, treat-filled trims teach a puppy that nail care is normal and safe.
Final Thoughts
So, how do you trim dog nails without the drama? Small cuts, a clear view of the quick, sharp dog-specific tools, styptic powder within reach, and treats at every step. Most dogs need a trim every few weeks — and once you and your dog have a routine, the whole job takes ten minutes.
Start slow, celebrate the small wins, and never force a frightened dog. If you hit the quick, stay calm, stop the bleeding, and try again another day with smaller cuts.
By Dr. Ayaz Ali